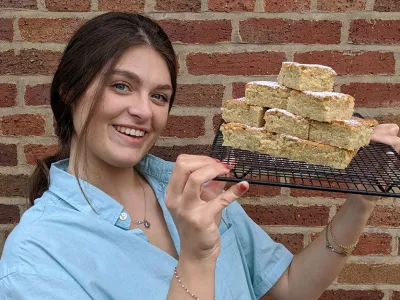
How To Take The Perfect Photo
Include this article in your Skills Builder Journal. It could help you develop... 
Want to get into photography but aren’t sure how to get started? Or perhaps you’re already snap happy and looking for some advice to get better? Good news! Food photographer Tyla Skye is here to give her best tips and advice on getting the perfect shot. Here’s what she has to say...
It’s true when they say a picture is worth a thousand words. When you get it right and capture that perfect image, it can tell a story and captivate your audience.
Unless you’re a photographer and you know all about the different parts that make photos come to life, it’s unlikely that you’ll look at an image and know what goes on behind the scenes. Taking an awesome photo as a beginner can seem overwhelming at first with all the settings on a camera or phone, and most people will switch to automatic mode. It may seem like a lot but if you break it down and understand the different working parts of a photograph it can be a fun and creative process.
I have always loved photography but never really discovered how intricate it can be until I got my very first full frame camera. Once I learnt how to use it I just couldn't put it down and used every opportunity to snap some pictures. I mostly do food photography which is great as it’s full of textures, colours and variation.
Here are my tips on how to take the ultimate photo and my process when I take pictures of my own.
Let’s start with preparation
When you have what you’d like to capture in your mind, it really helps to see it in front of you. I like to plan my pictures out by gathering inspiration on Pinterest with mood boards, or by flipping through magazines. Once you’ve set up a moodboard or vision of what you’d like to do it’s so much easier to get exactly what you want out of an image.
Another way to prepare is to figure out what props or background you are going to need. If you like travel or sports photography then you could scope out different environments to shoot in and what the backdrops could be, so that there are no surprises and you know which angles are going to be best.
The next important thing to talk about is your setup on the day of your shooting. There are a few important aspects to look at:
Space
How are you going to take advantage and manipulate the space around you to get that shot? There are a few ways to look at the space within an image. If you have a main character or subject you want to bring attention to you can do this by:
Creating negative space: This puts all the focus on the subject as there is nothing else for the eyes to be drawn to.
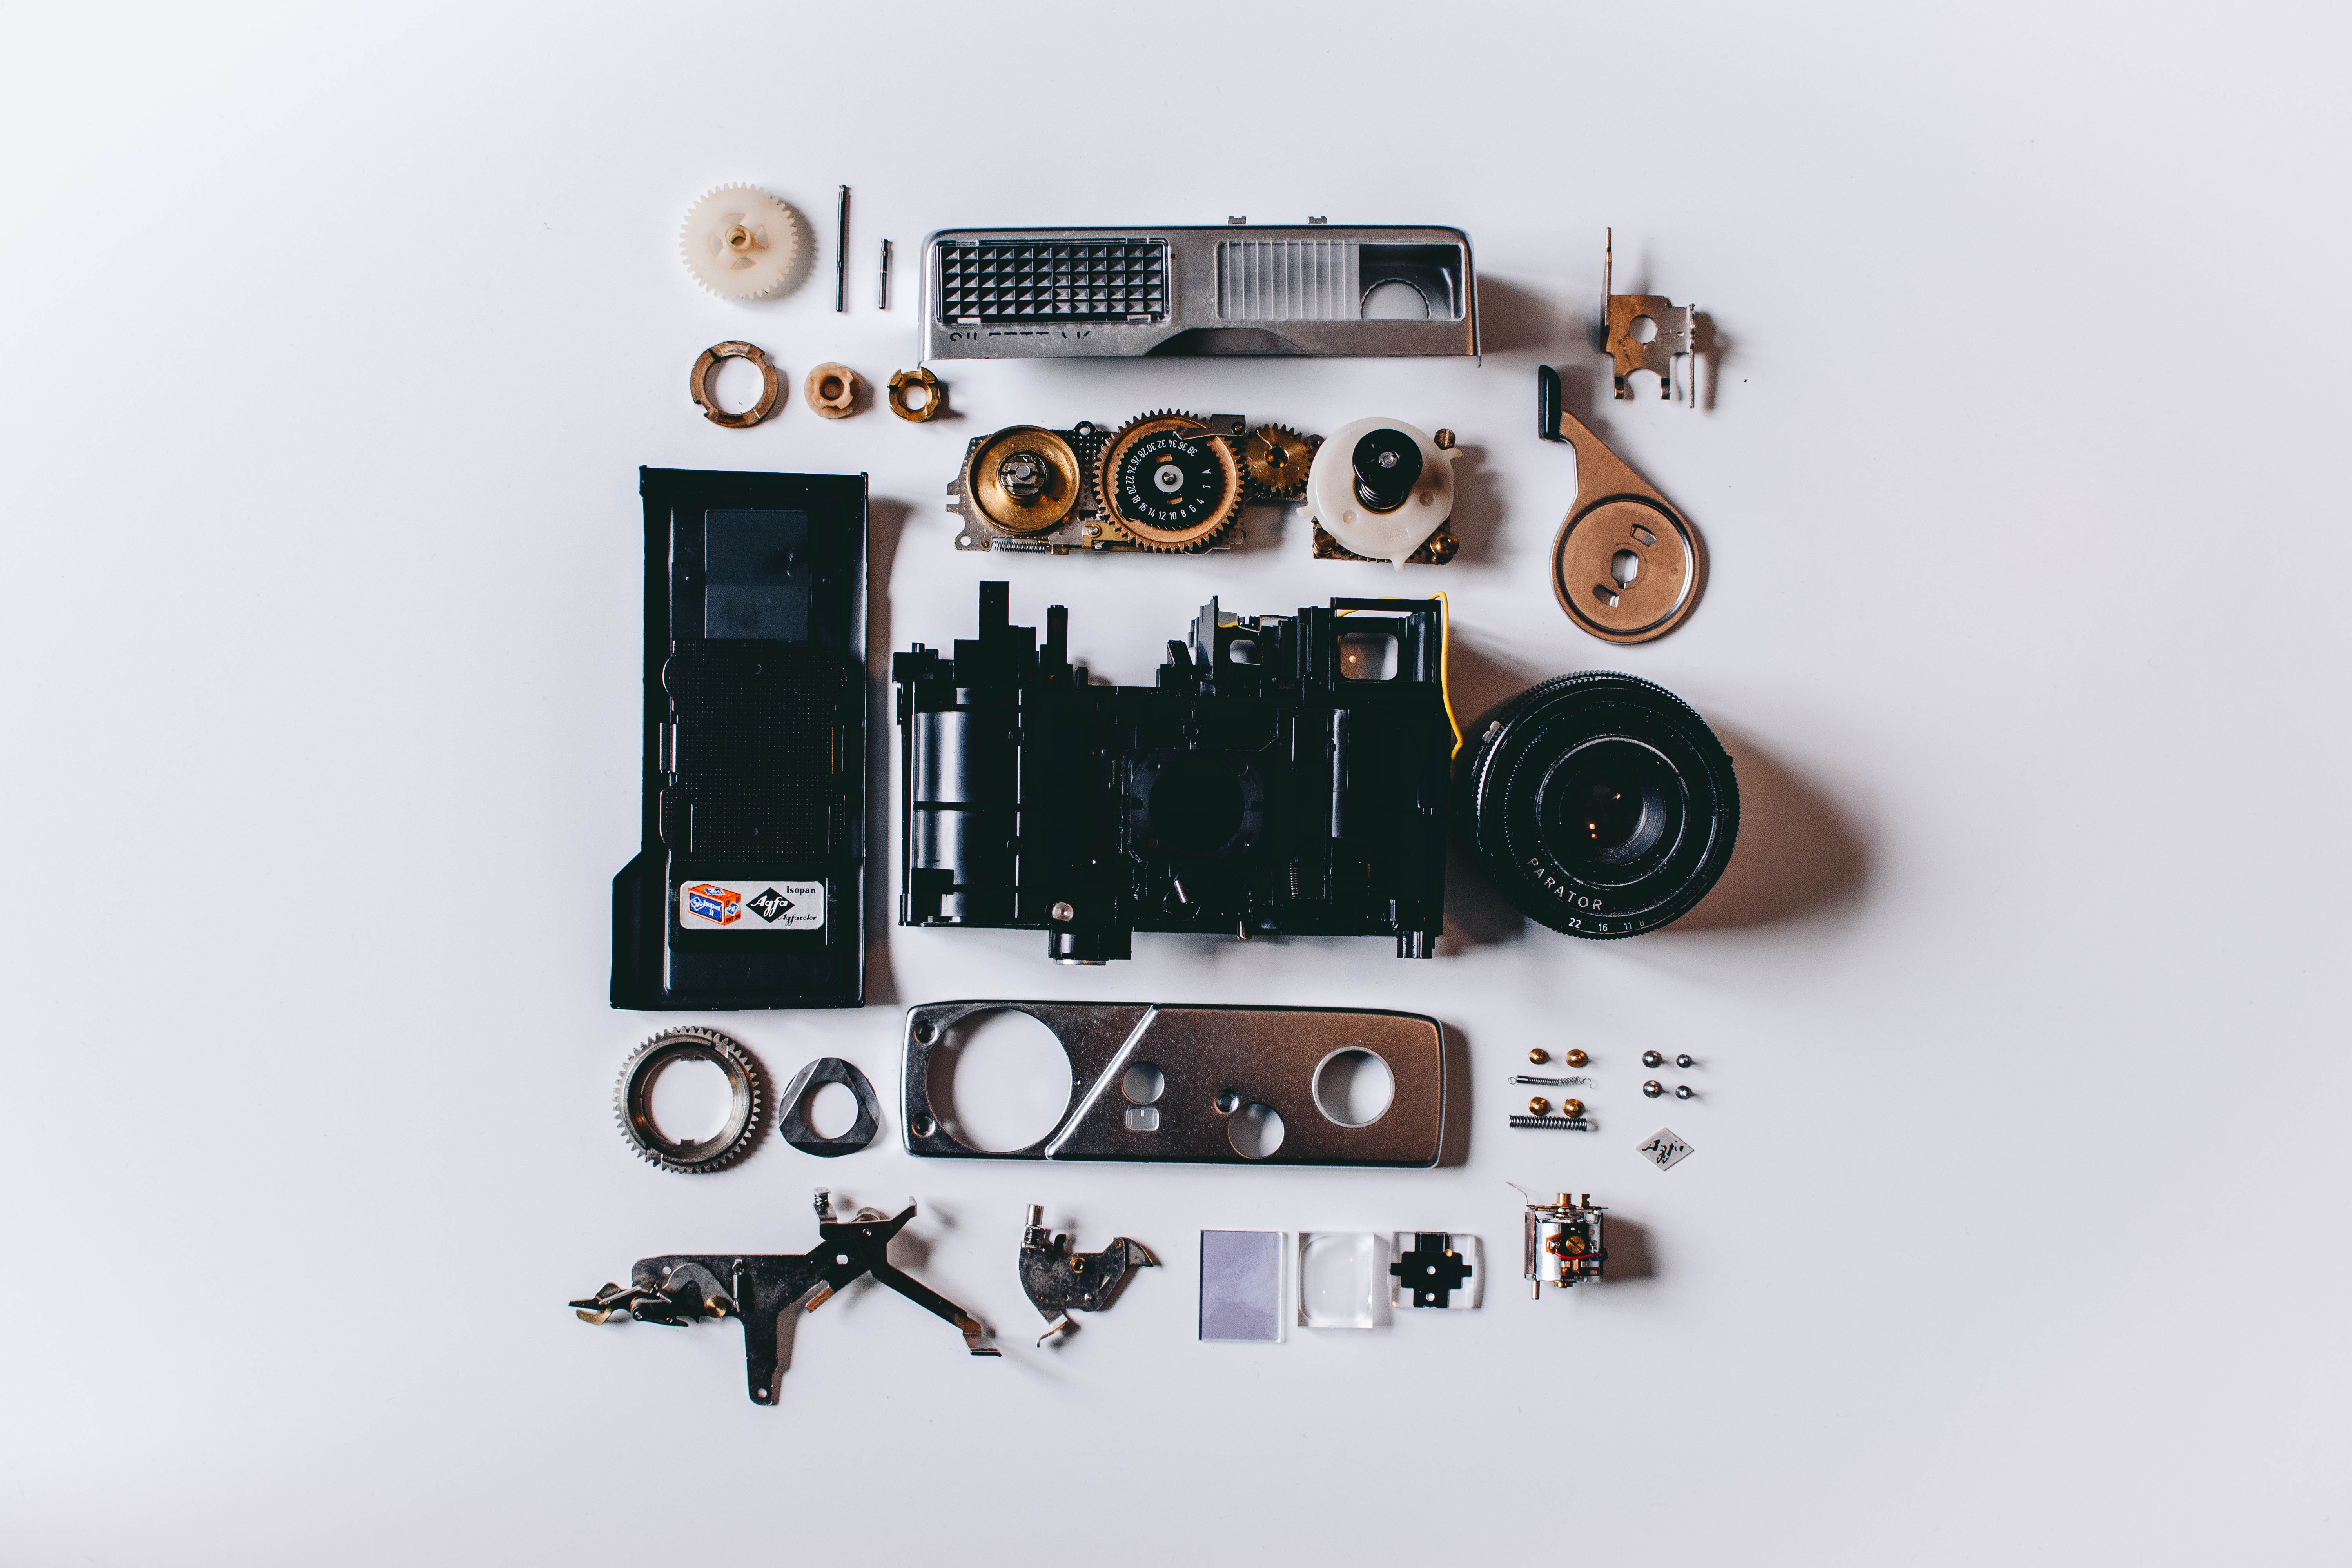
Framing the subject: You can do this by surrounding it with details that don’t detract the eye but lead it towards your main subject. An example would be shooting through a window, where the window is around the edge of the photos, and the centre of the image is the focus.
Adding depth: This is when your main subject is the focus but other details in the background are ‘blurred’.
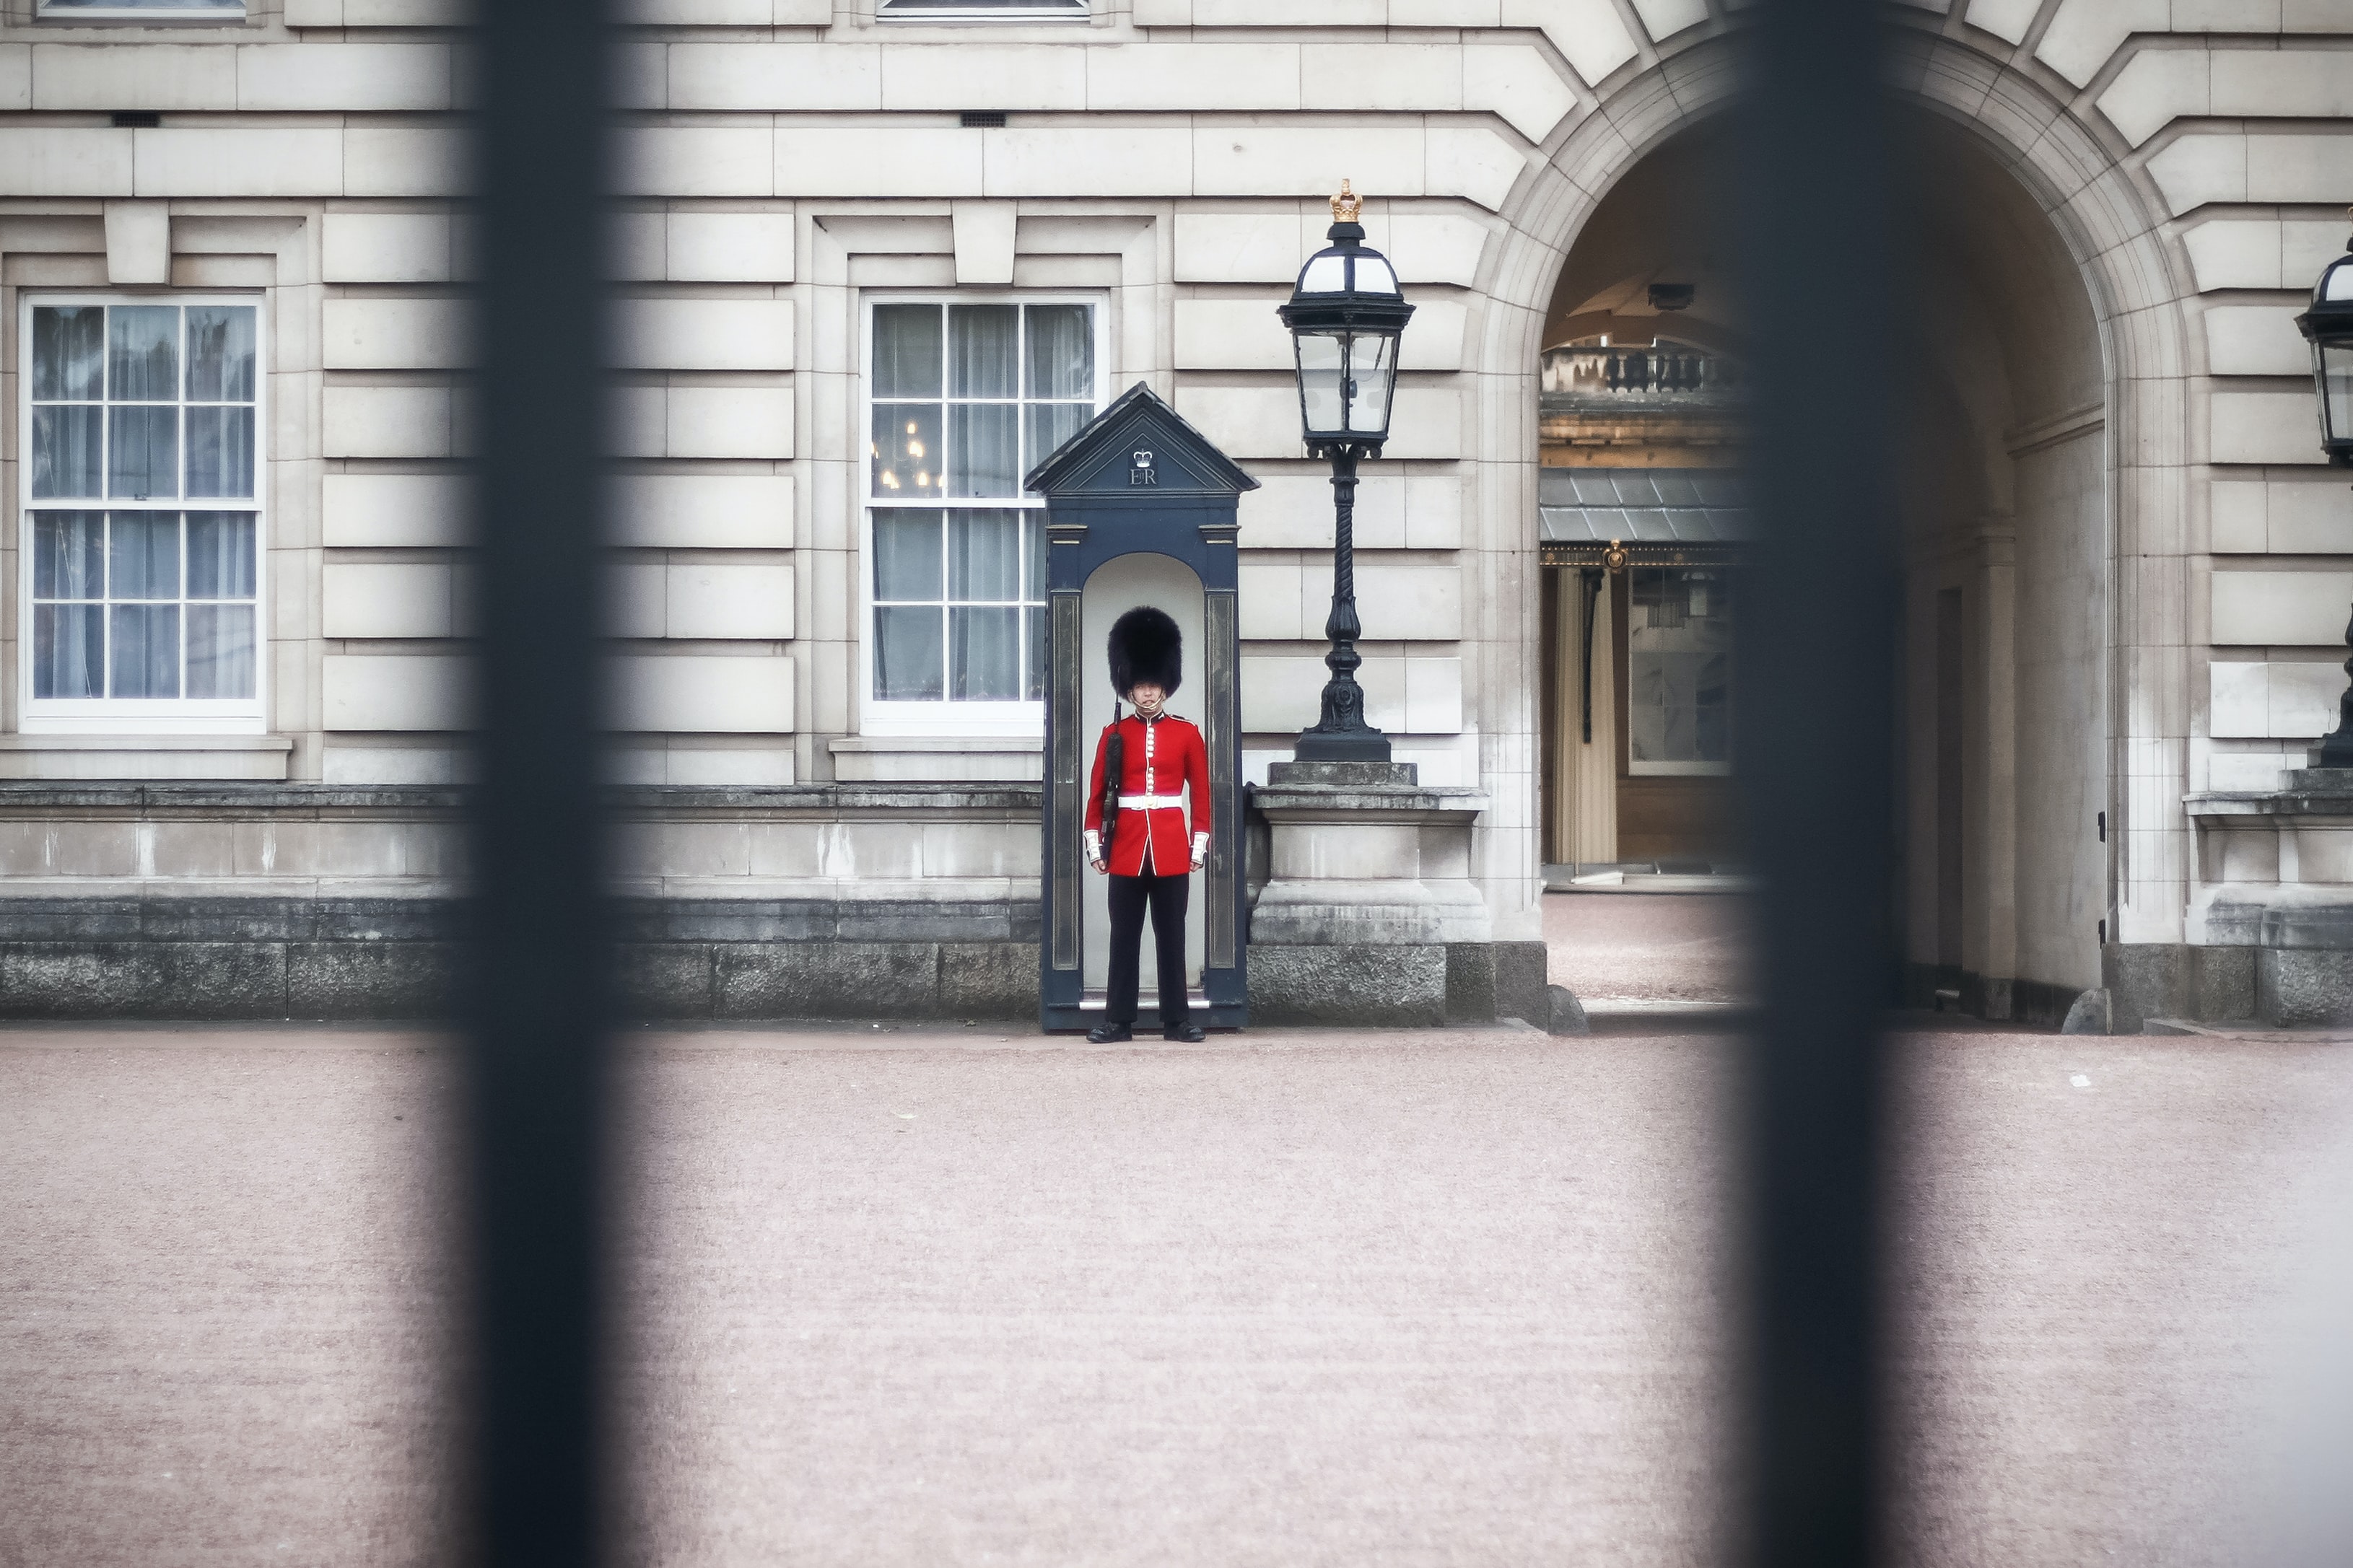
Composing the scene: Use lines to lead the eye and to add more flow to your image. Think of placing your subject or object in a way that when the shot is taken, your eyes are instantly drawn in the right direction. An example would be having a person stand in a spot where a pathway leads to them in the centre, or in food photography, we use curvature to align all the plates of food in a flowing line to create a pleasing aesthetic.
Adding height or layers: Whether you are shooting from a bird’s eye point of view, or from a different angle it’s important to decide what props or details you can use to make your subject or story stand out more.
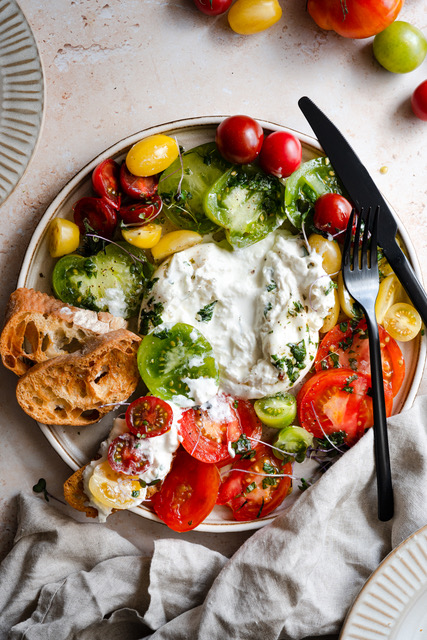
Below is an example of how I brought together different colours, shapes and cuts of tomatoes to create a contrasting effect.
Lighting
Are you going to be using natural lighting or artificial lighting? Here’s the difference and benefits.
Natural lighting is really great as there is no need to set up any extra tools, but the downside is you need to be careful of direct sunlight or shadows. I find that with natural light it really brings out colours and details of any subject. When shooting in natural light it’s important to control the direction in which you shoot so that the light enhances your subject and doesn’t make it flat. You either want the light source in front of the subject, directly above, or side on. Side on is going to create more shadows and shadows really help give more depth and detail in an image.
Artificial light is using a flash or lamp to light up your subject. I try not to use artificial light as I find it can really flatten an image, but you can play around with angles and shadows like I mentioned above, so it can also add depth to your image. Artificial light is great for night-time conditions or shooting in darker places. Just make sure that you always play around with the angles so that it enhances your image in the best way possible.
Background
For food photography I like to use a variety of backdrops with different textures. This can add a great element to any picture. Backdrops can cover up any surface or objects that you don’t wish to include in your image.
When looking at the background in your image, make sure that it is not distracting and try to find something that will help bring focus to your subject.
The image below of baked tarts was taken with a backdrop and I used different plates and baking paper to add more interesting elements.
Now that we’ve covered the set up and scene, let's move onto taking the picture:
Camera settings will differ depending on what camera you use and whether you are using your phone but the basics stay the same. Here’s a quick cheat sheet on camera settings:
Exposure: This is where you can change how bright your image is. Most of the time you should leave this at 0 and adjust other settings first.
Shutter Speed: This is the length of time your camera sensor is exposed to light. The longer your sensor is exposed, the brighter the image will be. But this setting can sometimes cause a blur so it’s best to use a tripod for a steady shot. If you use a quicker shutter speed your image will be darker but this is a good setting to use for freeze motion and sports.
Aperture: This is the amount of light your lens lets into the camera, and helps with depth of field. It is measured in F-stop. A lower F-stop will result in a brighter image and shallow depth of field (blurred background), and a higher F-stop will be much darker with a deeper depth of field (more background detail).
ISO: This determines how sensitive your camera sensor is to light. It can be very useful when you are in bright or dark situations. A higher ISO will help in night-time/dark conditions but you need to be careful as it can make your pictures grainy. A lower ISO will help in sunny or bright conditions so that your image isn’t over exposed to the light.
By playing around with these settings and adjusting them depending on what your conditions are, you can really bring out the best in your camera no matter what you are using.
Finally, let’s talk about editing
Once you’ve taken your shot, the best way to bring that image to life is to edit it and make sure the colours and details truly come out. For many photographers, and me personally, Lightroom from Adobe is the best tool for your images. You can download the app for free on both your phone and laptop.
First and foremost, the best and easiest tool to use is the automatic picture enhancer tool - using AI it quickly analyses your image and makes adjustments to things like exposure, colour correctness, white balance and sharpness, giving you the most optimum end result. Then, if you want to, you can do more adjustments, it all comes down to what your end goals are.
Below is an example of how editing can make a difference. The non-edited photo is on the left, and the edited on the right:
I will finish off by saying that it all just takes practice and a lot of trial and error. And as cliché as it may sound, never rush the process. It’s best to just have fun, get creative and don’t be afraid to make mistakes. That’s how you learn in photography and with every image you take there is a chance to improve on it.


